Food photography is more than just snapping a picture of your meal; it’s about capturing the textures, colors, and essence of the dish in a way that makes viewers’ mouths water. Whether you’re a food blogger, a social media enthusiast, or just someone who loves to share their culinary creations, mastering the art of food photography can elevate your images from ordinary to extraordinary. Here’s a comprehensive guide to help you take stunning food photos that are sure to impress.
1. Understand the Basics of Food Photography
Before diving into the specifics, it’s crucial to understand the foundational elements of food photography. The key aspects include lighting, composition, and styling. These elements work together to create images that are visually appealing and convey the deliciousness of the food.
Lighting: Natural light is your best friend in food photography. It provides a soft, flattering glow that enhances the textures and colors of your food. Aim to shoot near a window with diffused light, avoiding harsh direct sunlight that can create unwanted shadows. For indoor shots, a white sheer curtain can help diffuse the light effectively.
Composition: Composition refers to the arrangement of elements within the frame. Use the rule of thirds to place your main subject off-center, creating a more dynamic and balanced image. Experiment with different angles—overhead shots are great for dishes with multiple components, while side angles work well for layered foods like burgers or cakes.
Styling: Styling is all about making the food look irresistible. Pay attention to the placement of ingredients and garnishes. Use props such as plates, utensils, and napkins to complement the dish without overpowering it. A clean, uncluttered background ensures that the focus remains on the food.
2. Choose the Right Equipment
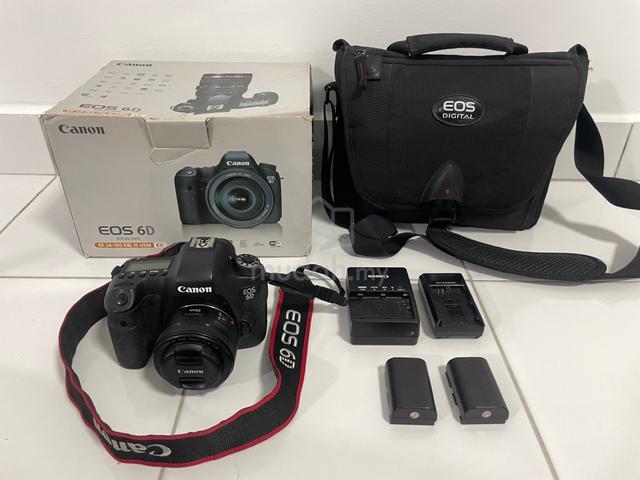
While professional cameras can produce high-quality images, you don’t need an expensive setup to take great food photos. Many smartphones have excellent cameras that can deliver impressive results. However, if you’re using a DSLR or mirrorless camera, consider investing in a good lens—macro lenses are great for close-ups, while a 50mm lens can provide a nice depth of field.
Tripods: A tripod is essential for maintaining stability and avoiding camera shake. This is particularly useful for low-light situations where slower shutter speeds are required. A tripod also allows for more precise composition and alignment.
Reflectors and Diffusers: Reflectors help bounce light back onto your subject, reducing harsh shadows and creating a more even lighting. Diffusers, on the other hand, soften the light and minimize glare. Both tools are affordable and can significantly improve the quality of your shots.
3. Master the Art of Styling
Food styling is an art form that involves arranging and presenting your food in the most visually appealing way. Here are some tips to get it right:
Garnish Wisely: Fresh herbs, a sprinkle of salt, or a drizzle of sauce can enhance the visual appeal of your dish. Be mindful of colors and textures—contrast can make your food stand out.
Avoid Overcooking: If possible, cook your food just before photographing it. Overcooked or reheated food can lose its appeal and look unappetizing. For dishes like pasta or meat, make sure they’re cooked to the right consistency for the best appearance.
Use Fresh Ingredients: Fresh ingredients look more vibrant and appetizing than wilted or dried ones. If you’re photographing a salad, for example, use crisp, fresh leaves and vibrant vegetables.
4. Play with Angles and Perspectives
The angle at which you shoot can make a huge difference in how your food is perceived. Here are some popular angles to try:
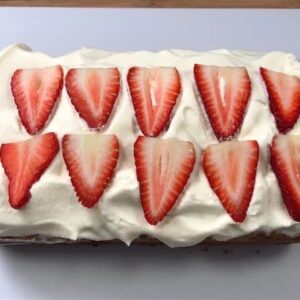
Overhead Shot: Ideal for dishes with multiple components or those arranged on a flat surface. This angle shows the overall layout and is great for items like pizzas, salads, or a spread of appetizers.
Side Angle: Perfect for dishes with layers or height, such as burgers, sandwiches, or cakes. This angle highlights the texture and layers of the food.
Close-Up: A close-up shot can capture the fine details and textures of your food, such as the crumb of a cake or the glistening surface of a sauce. Use a macro lens or the macro setting on your smartphone to get up close.
45-Degree Angle: This angle is a good compromise between the overhead and side shots. It’s often used for dishes that are too tall or have interesting textures and shapes. To learn more about the backlight photography, you can visit their page to learn more.

5. Use Props and Backgrounds Effectively
Props and backgrounds can enhance the mood of your food photography and make your images more engaging. Here’s how to use them effectively:
Backgrounds: Choose backgrounds that complement your food without overwhelming it. Neutral colors or textures, such as wood, marble, or simple linen, work well. Avoid busy patterns that can distract from the dish.
Props: Use props sparingly to support your food without drawing attention away from it. Simple utensils, napkins, or small kitchen tools can add context and interest. Avoid cluttering the frame with too many items.
Colors: Consider the color scheme of your props and backgrounds. Neutral or contrasting colors can make your food stand out. For example, a vibrant dish may look great against a white or dark background.
6. Edit Your Photos
Post-processing can enhance your food photos and correct any issues with exposure, color balance, or sharpness. Simple edits can make a big difference:
Adjust Brightness and Contrast: Enhance the brightness and contrast to make your food look more vibrant and appetizing. Be careful not to overdo it—subtle adjustments work best.
Enhance Colors: Boost the colors to make them pop, but avoid making them look unnatural. Adjust the saturation and vibrancy to achieve the right balance.
Sharpen Details: Use sharpening tools to bring out the textures and details in your food. This can make your images look crisper and more professional.
Crop and Straighten: Crop your images to remove any distractions or improve composition. Straighten any tilted shots to ensure a clean, professional appearance.
7. Experiment and Practice
Food photography is both a science and an art. Experiment with different techniques, angles, and lighting setups to find what works best for you. Practice regularly and review your photos to learn from your mistakes and successes.
Don’t be afraid to try new ideas or take creative risks. With time and practice, you’ll develop your unique style and improve your ability to capture mouthwatering food shots that truly shine.
Conclusion
Mastering food photography involves understanding the basics of lighting, composition, and styling, using the right equipment, experimenting with angles and props, and honing your editing skills. With these tips, you’re well on your way to creating stunning food photos that not only look great but also make viewers crave a taste of your delicious creations. So grab your camera, get cooking, and start capturing those delectable moments!


